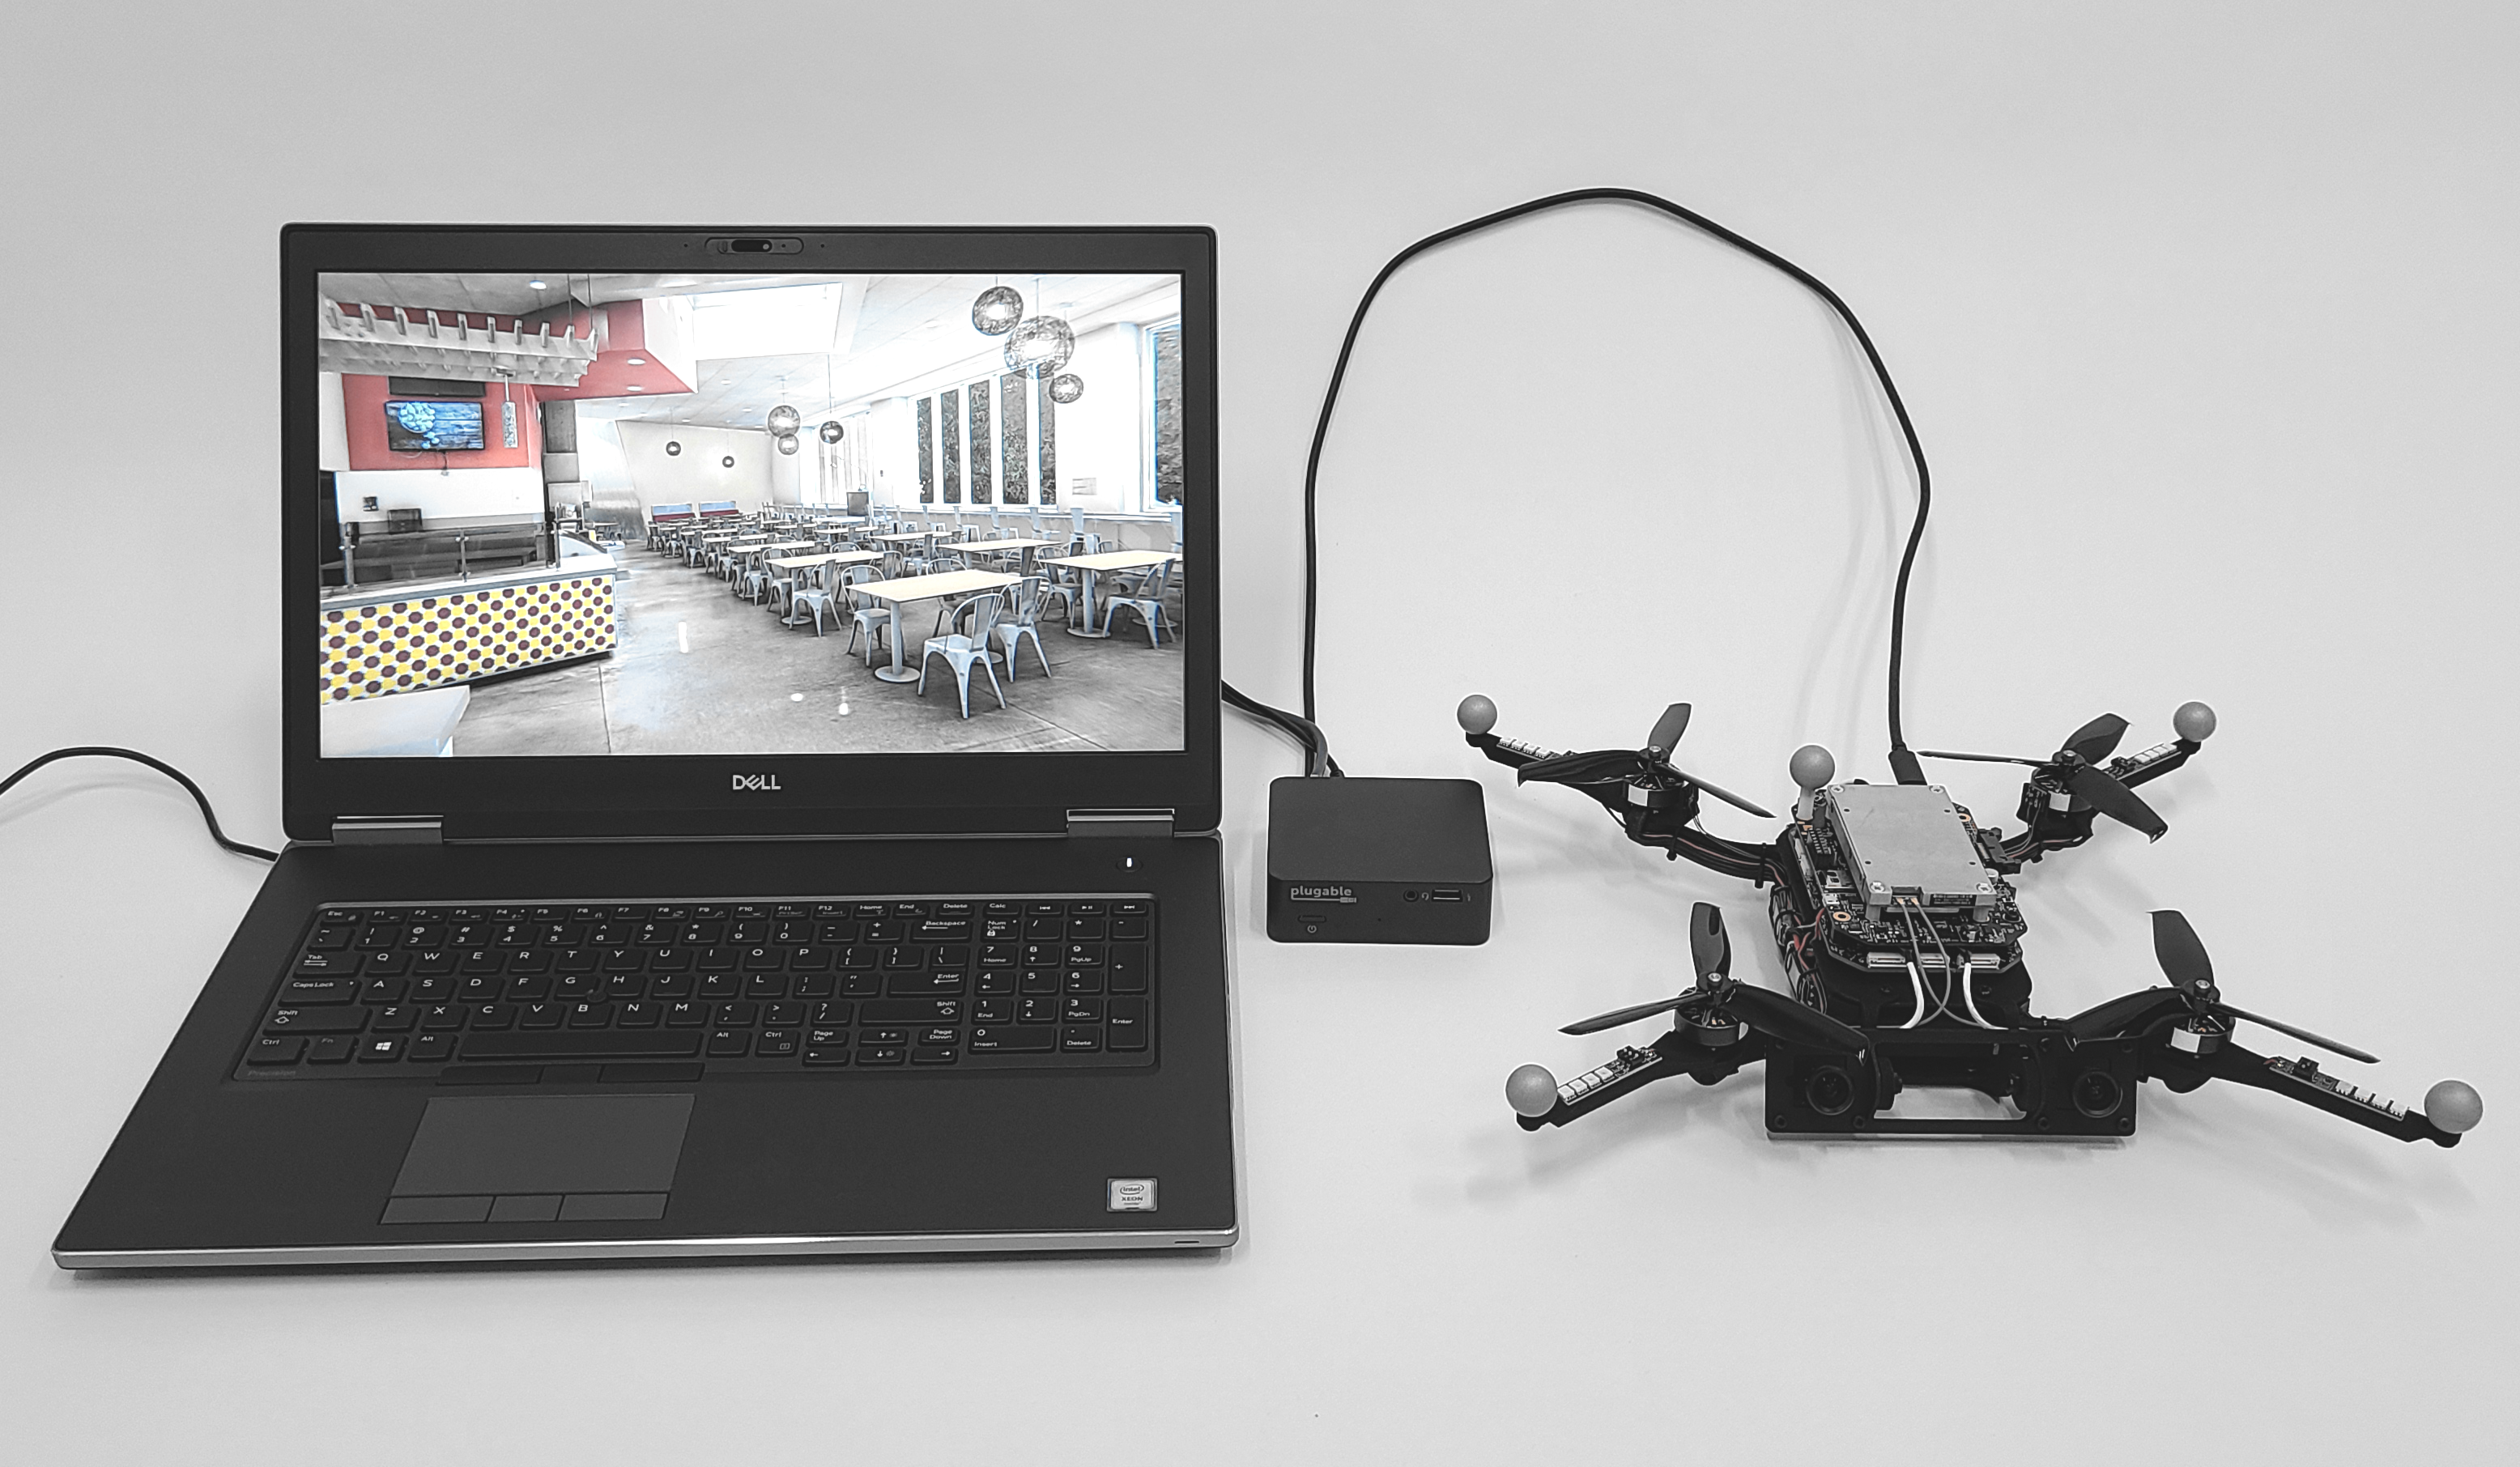
This scenario describes connecting FlightGoggles to a TX2 as shown in Figure 1. In this scenario, we use a Nvidia Quadro RTX powered laptop to render high resolution images using the FlightGoggles binary and connect to the FlighGoggles client running on a TX2 through a USB-C based ethernet interface.
Fig 1. Connecting FlightGoggles Renderer on a render computer to a TX2 running the FlightGoggles client.
We assume here that the FlightGoggles renderer is installed on the render computer and the FlightGoggles client is installed on the TX2.
Before proceeding, please ensure that the network connection between the TX2 and the render computer is functional using ping.
Render Computer
On the render computer simply go to the directory where the binary has been extracted.
Please replace FG-RENDER-BINARY-DIR with the directory where you extracted the binary.
cd FG-RENDER-BINARY-DIR
And run the renderer.
./FlightGogglesv3.x86_64
Set the IP address in the text box to the IP address of the TX2.
TX2
On the TX2, you can use the roslaunch command
roslaunch flightgoggles trajPlayback.launch
to playback an example bag file and test the image output using rviz.
Alternatively, you can run
roslaunch flightgoggles teleopExample.launch
to also run the dynamics simulation on the TX2 and remotely pilot the vehicle.
